Spring is the perfect time of year to explore and discover nature first hand. Everything from the weather changing to the plants starting to bloom can be helpful in teaching lessons in the subject of science. Learning through examination and experimentation, children can gain a better understanding of scientific theories on the preschool level.
5 Spring Science Experiments for Preschoolers
Make It Rain
Supplies:
- Glass jar
- Paper bowl
- Boiling water (be careful!)
- Ice cubes
Instructions:
Teachers or adults can pour boiling water in the jar until about a half way full. Be sure to remind children only to watch with their eyes, not with their hands, as it is very hot. Carefully cover the opening of the jar with the paper bowl. After a few minutes, add ice cubes to the bowl that is on top of the jar and observe what happens.
When the warm moist air rises to meet with the cooler temperatures, droplets are formed as the water vapor condenses. As the condensation falls back down, it can be in the form of rain, hail, sleet, or snow.
Seed Jar
Supplies:
- Seeds
- A jar
- Paper towels
Instructions:
Insert damp paper towels in the bottom of the jar. Add a few seeds, placing them closer to the glass than the center of jar. Finish filling the jar with damp paper towels. Place in the sun and monitor daily keeping the paper towels damp. Observe and record what happens.
Little learners should see seeds beginning to develop root hairs and sprouts within a day or two. After time, children will see the seedlings grow into plants.
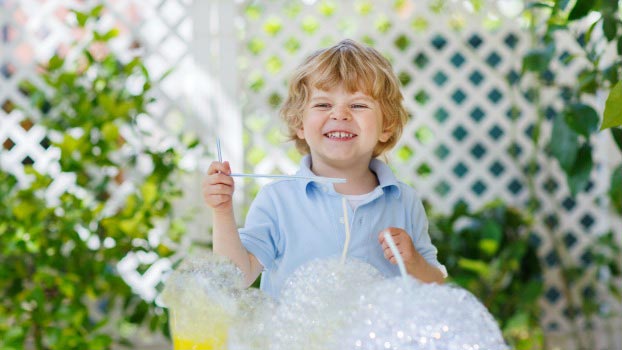
Rainbow Bubbles
Supplies:
- Empty plastic bottle
- Water
- Dishwashing liquid
Instructions:
Fill the bottle with water. Add a squirt of dishwashing liquid to the bottle and immediately flip over the bottle to dump out the water quickly. What remains are clear bubbles. Put the bottle on a windowsill in the sun and observe.
As light is reflected and redirected, a rainbow of colors is made for toddlers to discover.
Worm Farm
Supplies:
- Empty 2 liter bottle
- Scissors
- Sand
- Soil
- Dried leaves
- Worms
- Water
- Black craft paper
Instructions:
Cut the top of the bottle off and place to the side. Children can layer the soil and sand in the bottle, topping off with the dried leaves. Add the worms. Take the bottle top (no cap), flip it upside, and place on the top of the bottle (similar to a funnel), where water can be added. Dampen the soil with some water. Wrap the black craft paper around the bottle to create darkness for the worms. Place the farm in a place with no direct sunlight and keep soil moist. In a week, check under the black paper and see what has happened.
Preschoolers will be able to see how the worms mixed up the soil and created tunnels by looking for food. These worm tunnels are then helping water to disperse through soil, which is beneficial to plant growth.
Water Travel
Supplies:
- Leaves
- Glass jars
- Water
- Scissors
- Food coloring
Instructions:
Fill jars with water making each a different color using the food coloring. Trim the stem of the leaves and place one leaf into one jar. Observe how the water travels, checking back several times each day.
The water will begin to travel up the stem and into the tubes of leaf. From here the water will be distributed throughout all the parts of the plant.