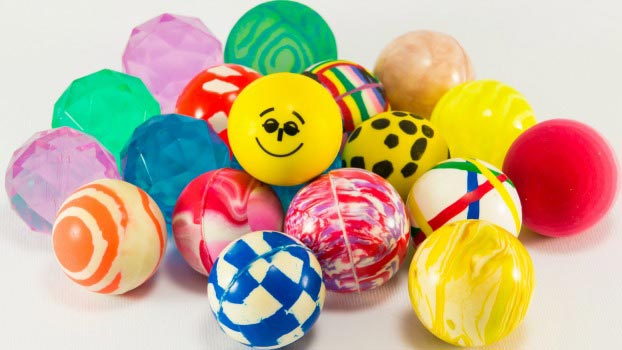
Ah, Spring! It is getting to be the time of year when students would much rather be running around outside than sitting in a classroom. While spending the day outdoors may not be an option, a fun chemistry science experiment can get them out of their seats and actively engaged. Students love STEM activities and this experiment, adapted from Celebrating Chemistry by the American Chemical Society, requires only a few simple ingredients and a lot of enthusiasm.
STEM Experiment: Ooey Gooey Bouncing Ball Science Experiment
Let me start by saying that when we followed the directions in the original experiment, the balls were neither ooey gooey or bouncy. Perhaps it was our ingredients or our method, but after a bit of measurement adjustment we were able to get the balls to bounce a few times. The children especially enjoyed watching how the polymer changed after they kneaded it throughout the day. If you are expecting high bouncing balls, this is not the experiment you will need, but it is a great way to explain polymers and get your students excited about science.
Materials Needed for One Ball
- 2 paper cups
- 1 wooden craft stick
- 1 permanent marker
- 2 T warm water
- 1/2 t borax
- 1 1/2 t white school glue
- 1 T corn starch
- Food coloring (optional – include gloves on your material list to avoid having hands stained)
Procedure
- Label one cup “Borax” and one cup “Ball” with the permanent marker.
- Pour the warm water and the borax into the cup labeled “Borax” and stir with the wooden stick until the borax is completely dissolved. This may take a few minutes depending on the temperature of the water.
- Pour the glue into the cup labeled “Ball”.
- Add 3/4 teaspoon of the borax/water mixture to the “Ball” cup. Do not stir.
- Add the cornstarch to the mixture and wait 15 seconds before stirring with the wooden stick. (If you would like to add food coloring, do so after adding the cornstarch and before stirring.)
- Continue stirring until it is almost impossible to stir anymore.
- Remove the mixture and knead it in your hands to form a ball. The more you knead it, the more the mixture combines and the smoother the texture becomes.
- Experiment with the ball and see how many times you can get it to bounce. Record observations about the texture and pliability of the material after 10, 20, and 30 minutes of kneading it.
- Store the ball in a plastic bag.
- Wash hands thoroughly and wipe down the experiment area.
I have my class do this when we are doing our Matter unit. The kids love doing this and see that it can be both a solid and a liquid. We will have to try this way next school year!