One way to create a path for success in kindergarten is to begin developing a solid foundation in analytical thinking through the exploration of shapes in the prekindergarten period. Students need this foundation to name shapes, describe shape attributes, and sort shapes into categories in the kindergarten curriculum. Through the use of everyday objects in your activities, you can approach this lesson in a manner that provides frequent, independent reinforcement for your student.
Shapes in the World Around Us
The teacher can start by introducing one to two shapes (i.e. circle, square, triangle, rhombus) to the classroom in a group discussion format. Every time a shape has been introduced, the teacher can ask students to look around the classroom to find that specific shape. For example students might say the window is shaped like a rectangle. Alternatively, the teacher can use shared pictures of different environments where students can find shapes. An example of this would be a picture of a city that students can be review in front of the class and name, show or describe a shape they see. Then, the teacher can chart the examples using an anchor chart (T-chart) for each shape discussed.
After this introduction, students can work in guided centers to further their exploration of shapes. Some ideas follow, but a common thread through them all is the continual involvement of teachers asking, ‘what shapes are you using? What can you tell me about this shape?’
Center Time
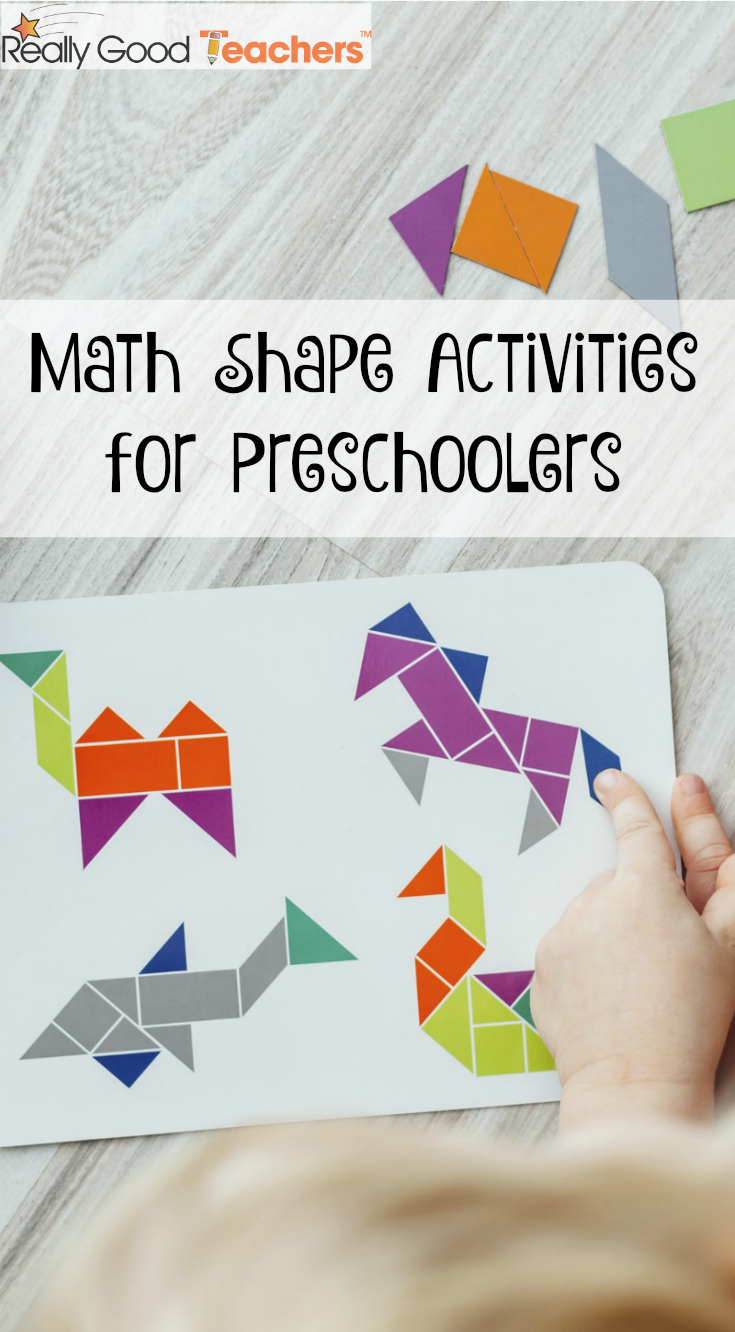
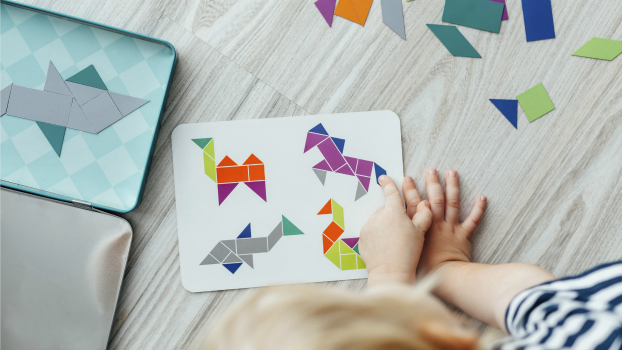
One center might have students working with pattern blocks and attribute blocks. The teacher can create templates where students place blocks of different shapes onto pictures (i.e. cars, houses, animals etc.) as appropriate. The teacher could also allow students to create their own design using pattern blocks.
A second center could include pre-cut felt or construction paper shapes to make a person, place, or thing Students can take several shapes and join them together. Students then can glue their creation onto a piece of paper and the teacher can help the student write about what they made, the shapes they used, and how many shapes they used.
Bulletin Board Fun
A final idea is to make a class bulletin board. The teacher can create water, land, or sky as a background for the bulletin board, and then assign students from each center group to make something out of shapes that fits the category for the bulletin board. Depending on time, the teacher could have pre-cut construction paper shapes, or shape templates, scissors, and construction paper available for student use. For example in this center, students could make kites, birds, and airplanes for the sky; people, animals, and plants for the land; and sailboats, whales, and crabs for the ocean. Students can glue their project together and show the teacher where to place it on the appropriate bulletin board.
Describing and Sorting Shapes
As students begin to recognize shapes and name them, they will begin to recognize their attributes through formal teaching, questioning, and exploration. The teacher can create anchor charts and coach students through questioning and exploration until they begin to appropriately describe attributes and classify shapes. There are many activities students can try in centers and teacher taught groups.
As a group the teacher can make a daily exercise of handing students attribute blocks and asking students who have a certain color, shape, size, width, to go to a certain area of the classroom. Then the teacher asks the students to determine the common attribute. For example, the teacher might have four corners in the classroom and ask all yellow blocks go to corner number one, all blue blocks go to corner number two, and so on. Then the students can turn and talk amongst themselves to figure out what attribute is being sorted.
Shape Centers Lead to Discussion
A great student center could include play dough and wiki sticks for students to make shapes. The teacher can guide students through modeling the creation of specific shapes and then coaching students in making these shapes by asking questions, such as, “How many wiki sticks will you need to make this shape? How many sides do you need to roll?” As students become comfortable with making shapes, they can independently work in the center.
Another center could focus on students making shapes out of craft sticks. The teacher can instruct students to glue the craft tacks together into various shapes. Once the sticks have dried, the students can glue pom pom balls onto the points. Together, the teacher and students can count the shape sides and points and talk about how that relates to how that defines the shape.
Within a teacher led center, the teacher can distribute attribute cards to each student and use a working mat to demonstrate how attributes can be sorted by color, shape, width, and size. The teacher can make cut and paste attributes available for follow up practice. Once students have demonstrated a basic understanding, the teacher can provide shapes and ask students to sort by two or three different attributes.
Teaching shapes is fun, hands on learning for students. Students will have many “Aha!” moments while discovering the shapes all around them, acquiring their names, and then describing and sorting attributes. What are the fun, hands on ways you teach shapes to students?